Due to the popularity of electric cars (EVs), many homeowners are contemplating installing electric car chargers. This step-by-step tutorial will help you install a home EV charger, from assessing your electrical infrastructure to selecting the proper equipment and assuring safety. This article will explain how to set up your electric car charging system.
Assessing Your Electrical System
Choosing the Right EV Charger
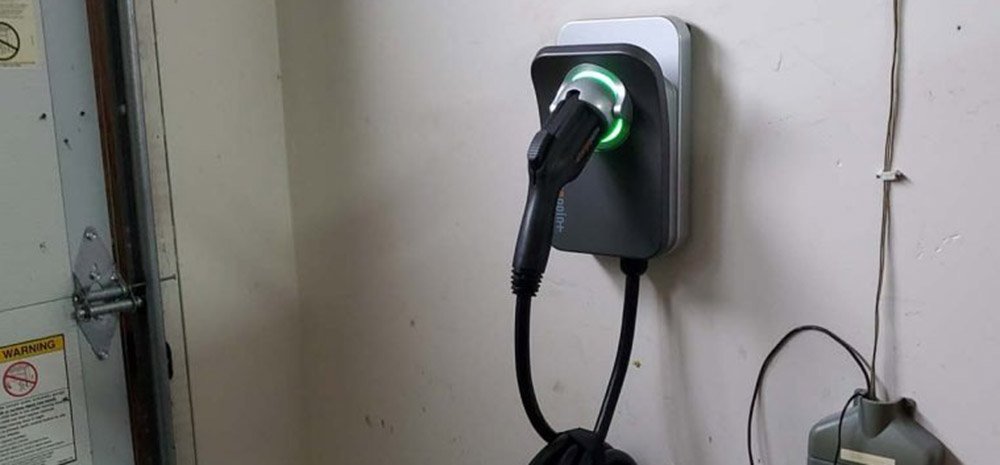
After your electrical system is approved for an EV charger, choose a charging device. The main types of home chargers are Level 1 and Level 2.
Level 1 chargers use a standard 120-volt outlet, making them convenient for basic home setups. However, their slower charging speeds—usually offering 2 to 5 miles of range per hour—mean they are ideal for those who don’t need to charge their vehicle quickly and can afford the longer charging times. These chargers are typically suited for people who drive fewer miles daily or have time to charge overnight.
Level 2 chargers, which require a 240-volt outlet, are faster and more efficient. They provide up to 25 miles of range per hour, making them ideal for households with higher daily driving distances or those who want faster charging. When selecting a Level 2 charger, factors such as charging speed, compatibility with your specific EV, and additional features like smart connectivity for remote control or scheduling should be considered. Level 2 chargers provide a faster, more convenient charging experience, although they require more advanced installation.
Hiring a Licensed Electrician for Installation
Installing an electric vehicle charger is a job best left to professionals. A licensed electrician is trained to handle the complexities of high-voltage electrical work, ensuring that the charger is installed safely and correctly. While DIY installation may seem tempting, it poses significant safety risks and may violate local building codes, leading to complications down the line.
A licensed electrician will take care of all necessary steps, including running wiring from your electrical panel to the charger’s location, installing the circuit breaker, and ensuring everything is grounded properly. They will also secure the charger to the wall or a dedicated stand and ensure that it complies with local building codes and regulations. Furthermore, the electrician will obtain the appropriate permits for the installation, ensuring that everything is legally up to code.
Choosing the Best Location for Your EV Charger
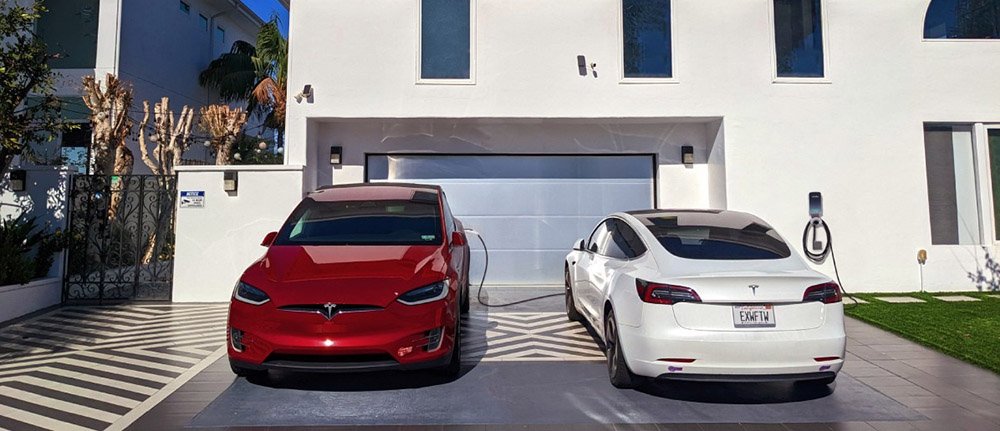
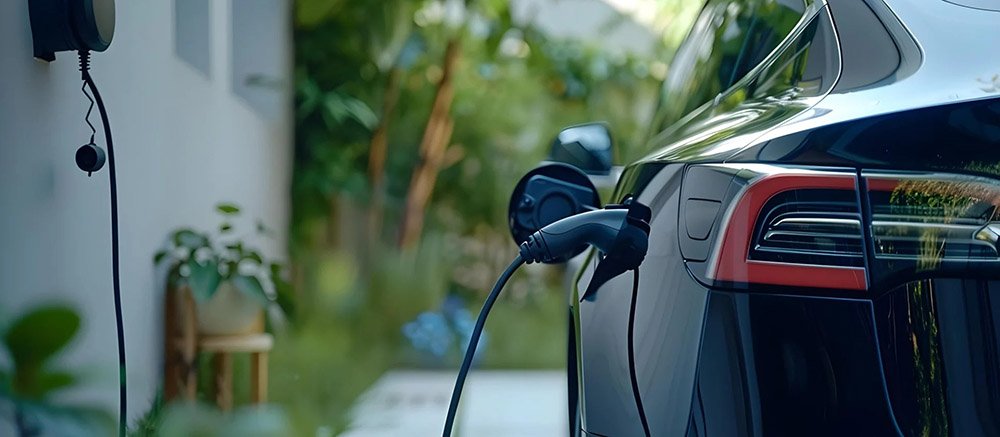
Location plays a crucial role in the ease and efficiency of using your home EV charger. The charger should be easily accessible, allowing you to park your car in a way that enables the charging cable to reach the vehicle without strain. The most common locations for EV chargers are garages, driveways, and carports, each offering varying degrees of convenience and accessibility.
For outdoor installations, ensuring that the charger is protected from the elements is essential. This may involve installing a weatherproof enclosure to shield the charger from rain, snow, or extreme temperatures. In contrast, indoor installations should focus on proper ventilation to avoid overheating and ensure safe charging. It’s important to plan for accessibility, ensuring that the charger is in a convenient spot for plugging in your vehicle, without any obstacles.
Final Installation and Safety Checks
Once your electrical system is ready, and the charger is chosen and located, the installation process can begin. The electrician will install the necessary wiring, set up a new circuit breaker, and connect everything to your electrical panel. After the charger is mounted securely, safety checks will be conducted to verify that the system is functioning as it should.
A thorough inspection ensures that everything is installed correctly and safely. Once the installation is complete, your home will be equipped with a reliable charging solution for your electric vehicle, offering the convenience of charging your car overnight. With this setup, you’ll be able to enjoy the flexibility and cost-saving benefits of charging your EV at home.
Frequently Asked Questions
How long does it take to install an EV charger at home?
Installation typically takes 4-6 hours, depending on the complexity of the setup.
Can I install an EV charger myself?
It’s recommended to hire a licensed electrician due to the complexity and safety concerns.
What is the difference between Level 1 and Level 2 chargers?
Level 1 chargers are slower, while Level 2 chargers offer faster charging speeds.
Where should I install my EV charger?
The best location is accessible, with enough space to park your car and reach the charger cable.