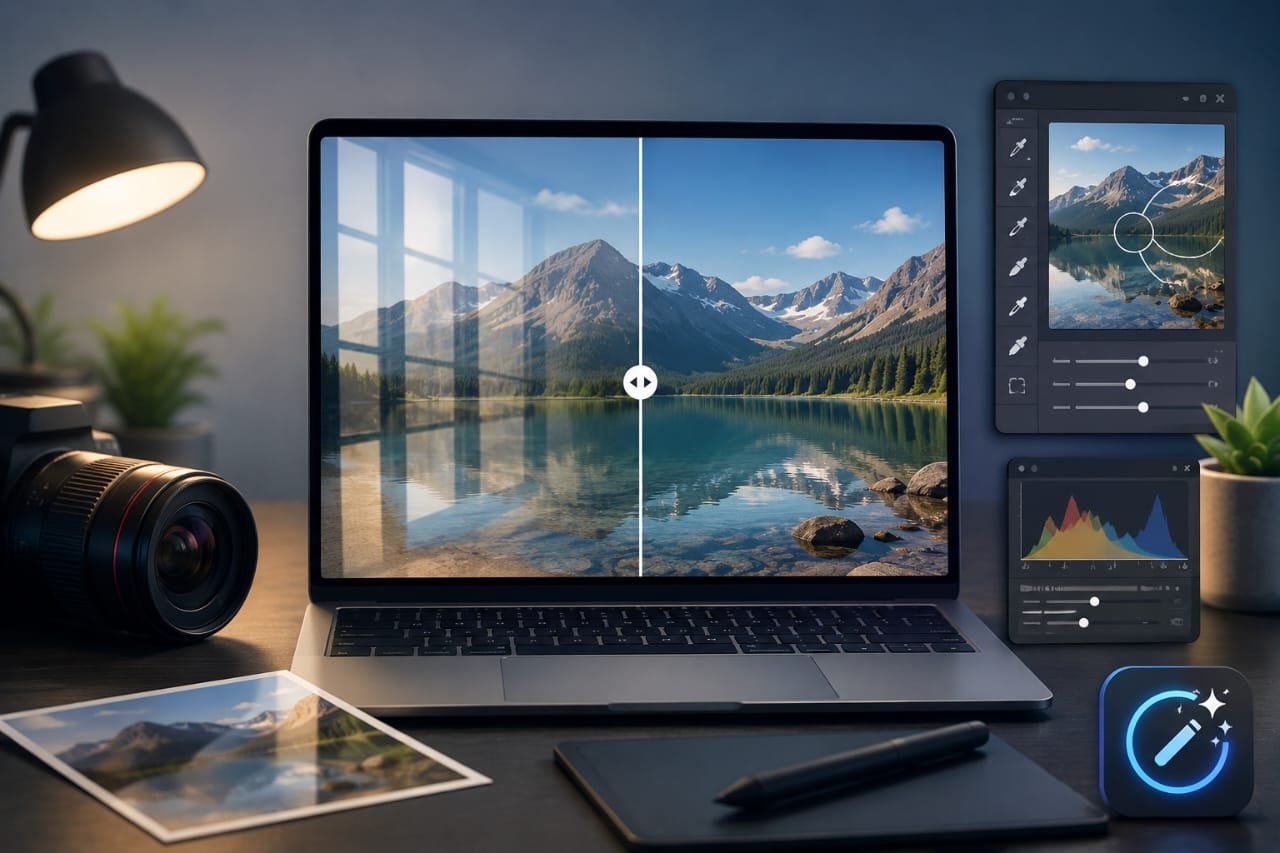
Unwanted reflections can ruin beautiful photos quickly. They often appear across glass surfaces. Windows, mirrors, and screens cause reflections. Bright lights can create them too. These distractions can hide important photo details. Luckily, editing can fix many reflections. Beginners can learn simple removal techniques. The right tools make editing much easier.
It can hide faces, products, or details. Sometimes reflections cover the main subject. Other times, they simply distract viewers. This makes reflection removal especially important today. Clean photos usually create stronger visual impact. Careful editing can restore hidden image details.
Before editing, always inspect your original photograph. Identify exactly where reflections appear first. Notice their size, shape, and brightness. Check nearby textures and important details. This helps you choose suitable editing tools. Always duplicate your original image beforehand. Keep the original file safely stored. Then begin editing on another layer.
Understand the Reflection First
Every reflection requires a different editing approach. Small reflections usually need simple corrections. Large reflections may require multiple editing techniques. First, examine the surrounding image carefully. Look for similar textures nearby. These areas can provide useful replacement information. Shadows should remain consistent after editing.
Avoid removing reflections without understanding their purpose. Some reflections can improve photographic composition. They may create depth or visual balance. Others may add realism to surfaces. This keeps your editing subtle and professional. Beginners should avoid excessive editing whenever possible.
Try Healing Tools For Small Areas
Healing tools blend replacement pixels smoothly. They work well on smaller reflective spots. These tools can remove bright areas quickly. They also handle minor surface distractions. However, complex reflections require more control. Use short strokes instead of long movements. This gives you greater editing precision.
After editing, check the image normally. Do not judge results only when zoomed in. Some problems become visible at normal size. Other problems appear only during close inspection. Look for unnatural lighting or texture changes. Fix these issues before exporting your image.
Work with layers and masks.
Layers make photo editing much safer overall. They keep changes separate from your original. This makes unwanted edits easier to remove. Layers also allow opacity adjustments when needed. You can hide parts of an adjustment. This helps create smoother and cleaner corrections. Beginners should develop layer-based editing habits.
Always name your layers clearly during editing. Organised projects make future changes much easier. Save editable versions before final exporting. This gives you flexibility during later revisions. Avoid flattening your project too early. Keep important adjustments available for further editing. This approach reduces mistakes and saves time.
Remove Reflection From Photo Naturally
You can remove reflection from photo easily. Reflection removal should always look believable. Avoid making edited areas completely uniform. Real surfaces usually contain natural texture variations. Keep subtle lighting differences whenever possible. Preserve shadows that belong to the scene. Also maintain realistic surface patterns throughout. These details help your edits remain invisible.
When reflections cover important subjects, work carefully. You may need several techniques together. Start with selections around important image details. Then use cloning for missing textures. Apply healing tools around smaller imperfections.
Check Your Final Image Carefully
Always review your image before exporting. Zoom out to inspect the complete photograph. Then zoom into edited areas again. Look for repeated textures or visible edges. Check lighting consistency around corrected sections. Also inspect shadows near edited surfaces. Small mistakes can become obvious during inspection. Careful checking improves the final image quality.
Compare your final image with its original. This helps identify unnecessary editing changes. Sometimes subtle corrections produce better results. Avoid pushing adjustments beyond natural limits. The best edits often remain completely unnoticed. Your goal should always be realistic results. Good editing should enhance photographs, not change them.
Conclusion
Use simple tools/adjustments. Make sure the original image is protected first. Take the time to work with layers for safety purposes. Healing tools apply to smaller reflection issues. They are better used on areas with detail than the clone tools. Always match shadows, lights, and textures. Do not go outside the modulations and retain the believable style. Avoid over-smooth surfaces.
Verify the last frame of your videotape from a variety of perspectives. Compare and contrast the two pictures. This can assist you in figuring out whether or not there are modifications that do not match what the author planned. Reflections can be easily eliminated as long as you practise them. Editing should add to, not detract from. There should still be a natural look to this image.